
A clear, step-by-step tutorial explaining how to create print-ready custom stickers quickly—without prior design training.
Introduction
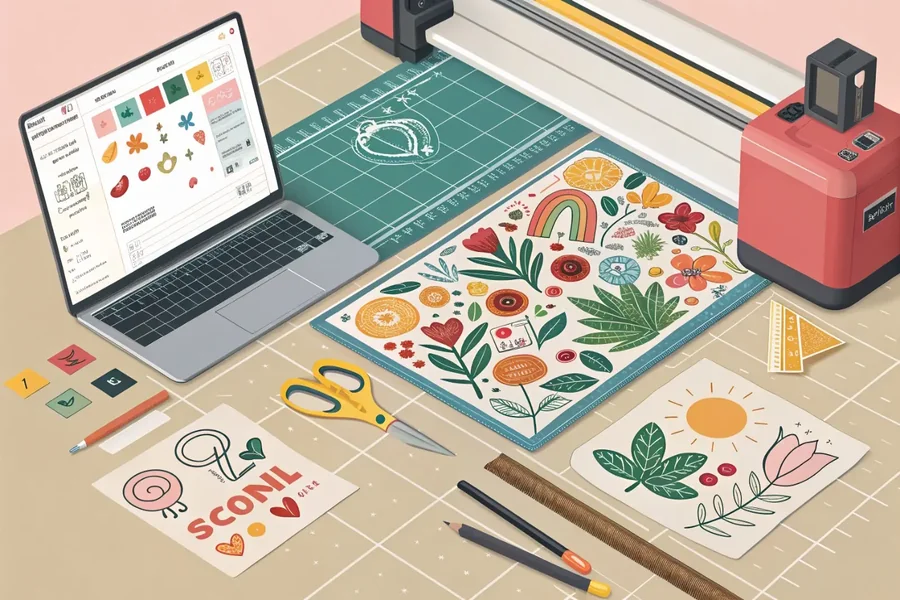
Custom stickers are widely used for packaging, laptop decals, event branding, classroom materials, and personal projects. What once required advanced design software can now be completed in minutes using browser-based sticker maker tools.
The main difference between platforms in this category is not artistic capability, but workflow structure. Some emphasize templates and speed, others focus on print precision, background removal, or file control. For beginners, the most efficient approach is choosing a tool that balances guided layouts with proper export settings.
A practical starting point is Adobe Express custom stickers, which combines template-driven design with straightforward resizing and high-resolution export options. From there, the process becomes less about artistic skill and more about following structured decisions.
The guide below walks through each step—from defining purpose to preparing a file for print—while highlighting tools that support specific parts of the workflow.
Step-by-Step Guide for Using a Custom Sticker Maker
Step 1: Define the Purpose and Dimensions
Goal
Establish what the sticker needs to do and select the correct physical size before designing.
How to do it
- Identify the use case (product label, promotional giveaway, planner sticker).
- Decide on shape (circle, square, rectangle, die-cut).
- Choose final dimensions (e.g., 2×2 inches, 3-inch circle).
- Confirm whether the sticker is indoor-only or weather-resistant.
- Set canvas size in your design tool before adding content.
What to watch for
- Designing without confirming size often results in blurred images.
- Very small stickers require simplified layouts.
- Die-cut shapes need extra margin around edges.
Tool notes
If you need to confirm print specifications or estimate sticker durability, services like Sticker Mule (printing and proofing platform) provide sizing guides and material comparisons that can inform your design decisions without requiring advanced design knowledge.
Step 2: Choose a Structured Layout
Goal
Start with a layout that reduces guesswork and prevents overcrowding.
How to do it
- Browse sticker-specific templates.
- Select a layout aligned with your use case.
- Replace placeholder text with your own message.
- Remove decorative elements that distract from the main point.
- Keep whitespace around the core design.
What to watch for
- Overloaded templates reduce readability.
- Decorative fonts may print poorly.
- Avoid layering too many graphic elements.
Tool notes
If you want access to additional royalty-free icons or simple vector shapes, platforms like The Noun Project can supply minimal graphics that integrate cleanly into beginner layouts.
Step 3: Add Logos, Photos, or Icons Cleanly
Goal
Insert visuals without reducing print quality.
How to do it
- Upload a high-resolution logo or image file.
- Remove background if needed.
- Resize proportionally (avoid stretching).
- Align images centrally or according to grid guides.
- Ensure sufficient contrast between image and background.
What to watch for
- Web-sized images (72 DPI) may pixelate when printed.
- Thin outlines can disappear at small sizes.
- Transparent backgrounds must remain intact during export.
Tool notes
If you need to upscale a lower-resolution image before importing it, tools like Let’s Enhance (AI image upscaling service) can improve clarity prior to final placement.
Step 4: Format Text for Print Clarity
Goal
Ensure text remains readable at the final printed size.
How to do it
- Use one primary font and one supporting font.
- Increase contrast between text and background.
- Avoid text smaller than 8–10 pt equivalent at print scale.
- Keep text away from trim edges.
- Preview the design at actual size.
What to watch for
- Script fonts may blur when printed small.
- Light-colored text may fade against glossy material.
- Placing text too close to edges risks trimming errors.
Tool notes
For checking color contrast accessibility before printing, tools like WebAIM Contrast Checker can help confirm readability across different lighting conditions.
Step 5: Prepare for Print (Resolution, Bleed, File Type)
Goal
Export a file that matches professional printing standards.
How to do it
- Confirm resolution is set to 300 DPI.
- Add bleed (typically 0.125 inches) if the design extends to the edge.
- Keep essential content inside safe margins.
- Choose PDF or high-resolution PNG depending on printer guidelines.
- Double-check export quality settings before downloading.
What to watch for
- Forgetting bleed may cause white borders.
- JPEG compression may reduce image clarity.
- Transparent PNGs are required for die-cut shapes.
Tool notes
If you want to inspect PDF output settings before sending to print, tools like PDF24 (free PDF utility platform) allow quick file inspection and quality verification.
Step 6: Test Before Bulk Printing
Goal
Avoid costly reprints due to overlooked design errors.
How to do it
- Print a draft copy on standard paper.
- Cut it out to simulate final dimensions.
- Check color tone and alignment.
- Review spelling and layout spacing.
- Adjust if text appears cramped or colors too dark.
What to watch for
- Printed colors may differ slightly from screen tones.
- Borders may look thicker when printed.
- Small alignment issues become noticeable at scale.
Tool notes
Platforms like ShipStation (shipping and fulfillment software) can help organize distribution logistics once production is complete.
Common Workflow Variations
Photo-Based Stickers
Focus on background removal and bold outlines. Keep text minimal.
Business Logo Stickers
Use strong contrast, centered layout, and generous spacing.
Event Stickers
Highlight the date or theme clearly. Avoid excessive decorative fonts.
Functional Planner Stickers
Prioritize legibility and consistent sizing across sets.
Checklists
Before You Start Checklist
- ☐ High-resolution images available
- ☐ Final dimensions confirmed
- ☐ Printer specifications reviewed
- ☐ Brand fonts and colors selected
- ☐ Background transparency requirements understood
- ☐ Shape type selected
- ☐ Intended quantity estimated
Pre-Export / Pre-Order Checklist
- ☐ 300 DPI resolution confirmed
- ☐ Bleed area added if required
- ☐ Safe margins respected
- ☐ Spelling reviewed
- ☐ Colors high contrast
- ☐ File format matches printer requirements
- ☐ Transparency preserved (if die-cut)
- ☐ Test print completed
Common Issues and Fixes
Blurry Images After Printing
Use higher-resolution files or reduce final print size.
Text Too Close to Edge
Adjust layout to maintain safe margins.
Colors Print Too Dark
Lighten color tones slightly before exporting.
White Borders Around Edges
Add proper bleed and extend background fully.
Transparent Background Prints White
Confirm that the printer supports transparency and that PNG export preserved it.
How To Use a Custom Sticker Maker: FAQs
Is a template necessary for beginners?
Templates reduce layout errors and speed up workflow, especially for first-time users.
What file type is best for printing?
High-resolution PDF or PNG files are typically preferred, depending on printer guidelines.
Can stickers be created entirely in a browser?
Yes. Many custom sticker maker platforms, including Adobe Express, allow full browser-based design and export.
How do I avoid pixelation?
Start with high-resolution images and avoid enlarging small files.
Do I need professional design software?
Not for basic sticker creation. Structured sticker maker tools are designed to simplify layout and export without advanced training.